The post KIWI HONEY GALETTE appeared first on My Digital Kitchen.
]]>Sweet, tart, and easier than pie, this Kiwi Honey Galette is a yummy brunch treat to enjoy any day of the week!

It’s Friday at last and that makes me happy for two reasons. First, War for the Planet of the Apes comes out today and I get to see it, and secondly, I get to prepare for my pop up market which is happening on Sunday! It’s a yoga fundraiser for Sick Kids sponsored by Yogapalooza and I’m so excited that my company gets to participate. For my lovely readers who are in the Toronto /Mississauga area, I will be posting the link with the event details below. We will be selling some of our healthy sweet treats and I couldn’t be more excited! Oopps I think I’ve said” excited” way too many times already…. anyways moving on to this kiwi honey galette.

One of the reasons I enjoy baking galettes is how easy it is to put together compared to pies. I mean don’t me me wrong, pies aren’t that difficult once you get the hang of it, but galettes are basically a lazy guide to making a fancy pie. Plus, you could also get creative with the fruit fillings, or even go savory by using tomatoes, zucchinis or any meat protein of your choosing!

You could also make this entire galette vegan is you’d prefer. All you would have to do is substitute the butter with coconut oil sitting at room temperature, honey for agave nectar and viola! Personally, I have made pie crusts and galettes with coconut oil and although the crust comes out decent, you don’t quite get the flakiness you would get when you make the crust with butter. However, the galette still turns out pretty good, so do not be discouraged! It’s all about personal preference.

Well, since I’ve been running errands all day and still have a few more to run, I’ll have to keep this short and sweet, but mostly sweet because hey, kiwi honey galette!?! I hope you guys have a lovely weekend and enjoy the sunshine!

Here’s the link with the Yogapalooza pop up event details:
Yogapalooza, a Fundraiser for Sick Kids.
My Digital Kitchen – Yogapalooza.
- • For Crust:
- • 1 /14 cups chilled spelt flour
- • ¼ teaspoon sea salt
- • 1 stick cold unsalted butter, cut into cubes
- • ¼ cup plain fat free Greek yogurt
- • 2 teaspoons fresh lime juice
- • ¼ cup ice water
- • For Filling:
- • 2 cups sliced kiwis
- • 2 tablespoons pure honey, melted
- • 1 egg (for egg wash)
- For the crust, add flour and salt to a large bowl and mix. Cut in butter into the bowl and combine with a pastry blender until a coarse meal forms. In another small bowl, whisk together Greek yogurt, lime juice and ice water and add to the flour mixture. Using your fingers, mix in the wet ingredients until large lumps form before patting it into a ball. Cover the dough with plastic wrap and refrigerate for 1 hour.
- In a separate bowl, toss kiwi and melted honey together.
- Preheat oven to 400°F and line a baking sheet with parchment paper.
- On a floured countertop, roll out the dough into a 12-14-inch round. Transfer the dough to the baking sheet.
- Arrange the kiwis over the dough, leaving a 2-inch gap around the borders of the dough. Fold the borders over the fruit filling pleating the edges to hold the filling together. Brush the dough with the egg wash and transfer baking sheet to the oven.
- Bake for about 45 minutes or until the crust is golden brown. Let it cool for 3-5 minutes before serving.
The post KIWI HONEY GALETTE appeared first on My Digital Kitchen.
]]>The post PALEO BUTTERNUT SQUASH TART appeared first on My Digital Kitchen.
]]>For all you guys who either follow a paleo diet or just enjoy paleo recipes, I recommend making this Paleo Butternut Squash Tart your fall favorite dessert! Take a break from sweet potato and apple pies and give this squash a chance.

Fall is the season for all things squash, as well as the perfect season for yummy pies and tarts. I find that when festive holidays like thanksgiving or Christmas rolls around, my usual go to desserts are sweet potato, apple and strawberry rhubarb pies or tarts. However, whenever I buy butternut squash, I always end up making my favorite Butternut Squash and Apple Soup and not much else. Sometimes the squash sits on my counter for ages! So you can only imagine the happy dance I did when I was able to put on my creative hat and whip up this masterpiece for my family’s thanksgiving dinner.

One of my favorite components about this recipe is the natural sweetness you get from the squash. I find that the sweetness varies depending on when the squash was picked and also the size, so I always aim for small to medium sized squash because the sweeter the better. That way, you get the best results when using it in your cooking or baking! This recipe is paleo and gluten free!

Ingredients for crust:
2 cups blanched almond flour
1/4 teaspoon sea salt
2 tablespoons coconut oil (at room temperature), or 2 tablespoons grass fed butter
1 large free run egg
Ingredients for filling:
1 medium cooked and mashed butternut squash (about 3 cups)
3/4 cups organic cane sugar
4-1/2 teaspoons arrowroot starch
1 tablespoon ground cinnamon
1/2 cup grass fed butter (at room temperature)
2 large free run eggs
3 teaspoons vanilla extract
1/4 cup water
coconut whip cream (optional)
Instructions:
1. Make your crust first. Combine all crust ingredients in a bowl and knead with your hands until a ball forms. Wrap the pie crust in saran wrap and place in the refrigerator for 30 minutes to an hour. When ready, lightly grease a 9-inch tart pan with coconut oil. I prefer to use a non-stick tart pan so that the tart pops out easily. Press the tart dough into the an until all the edges are covered, then set aside.
2. Now that your tart crust is ready, preheat your oven to 350 degrees F and make your filling. In a large bowl, combine all filling ingredients until you get a smooth batter. Pour filling into the tart crust. You will have some left over filling which is okay. Just store your leftovers in the freezer.
3. Place the tart in the oven and bake for 50-55 minutes or until the toothpick comes out clean. When ready, cool the tart on a wire rack for 1 hour, then transfer to the refrigerator for another hour until chilled. Serve with fruit of choice and coconut whipped cream.
Note: I recommend preparing the squash the night before you intend to bake this tart. To cook your butternut squash, preheat your oven to 350 degrees F and cut your butternut squash in half, removing the seeds completely. Add 2-3 cups of water to a large ceramic baking dish and place the squash in it facing up. Poke holes around the squash and place in the oven. Make for 1 ½ hours. Let the squash cool for about 20 minutes before peeling the skin off. Puree squash in a food processor or blender until smooth. Store the squash in an air tight container in the refrigerator overnight. Paleo Butternut Squash Tart for the win!
Recipe for paleo crust adapted from Elana’s Pantry.
The post PALEO BUTTERNUT SQUASH TART appeared first on My Digital Kitchen.
]]>The post CHOCOLATE BERRY MOUSSE PIE appeared first on My Digital Kitchen.
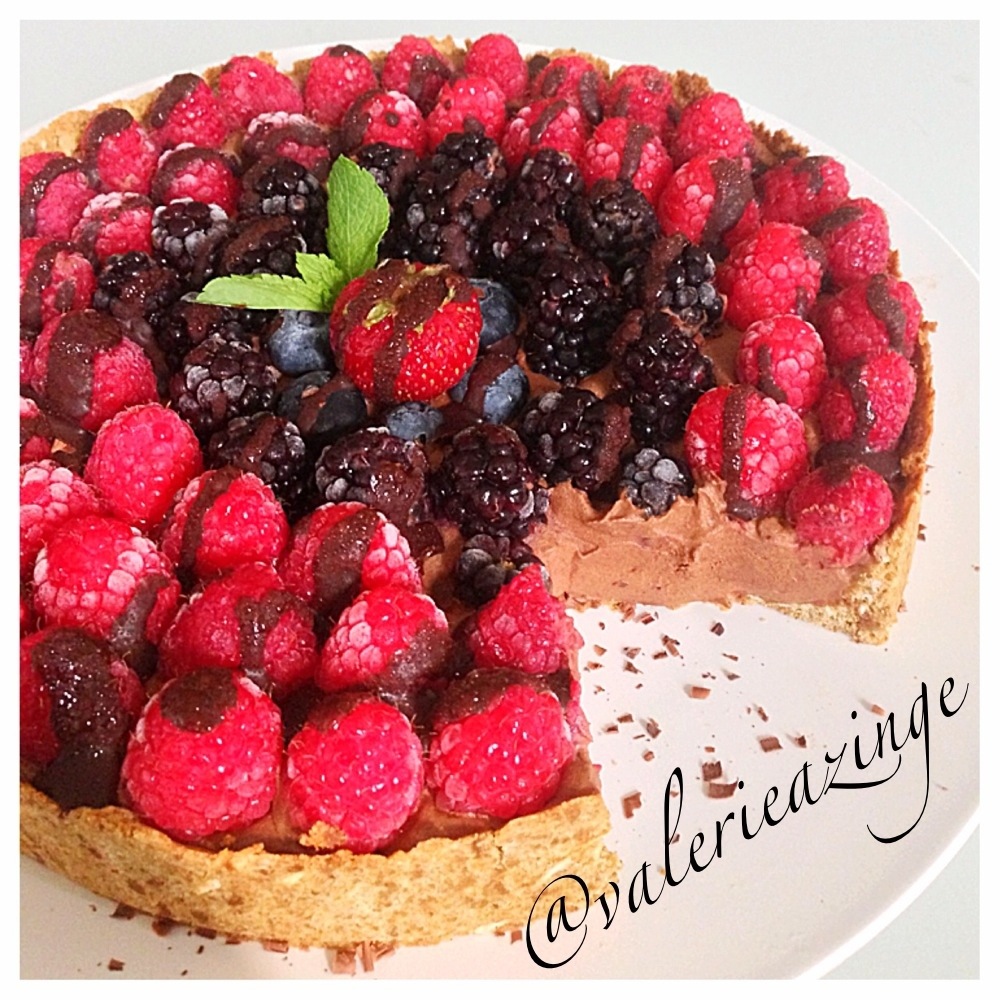
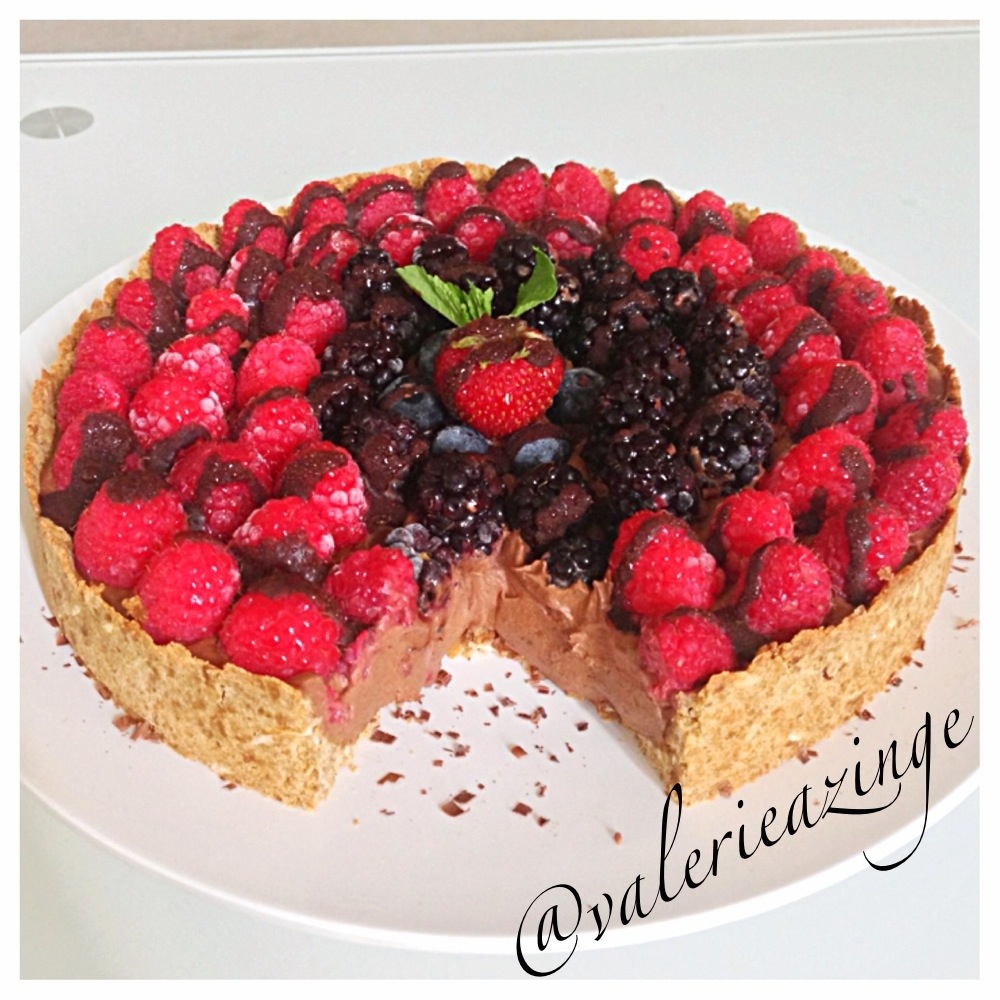
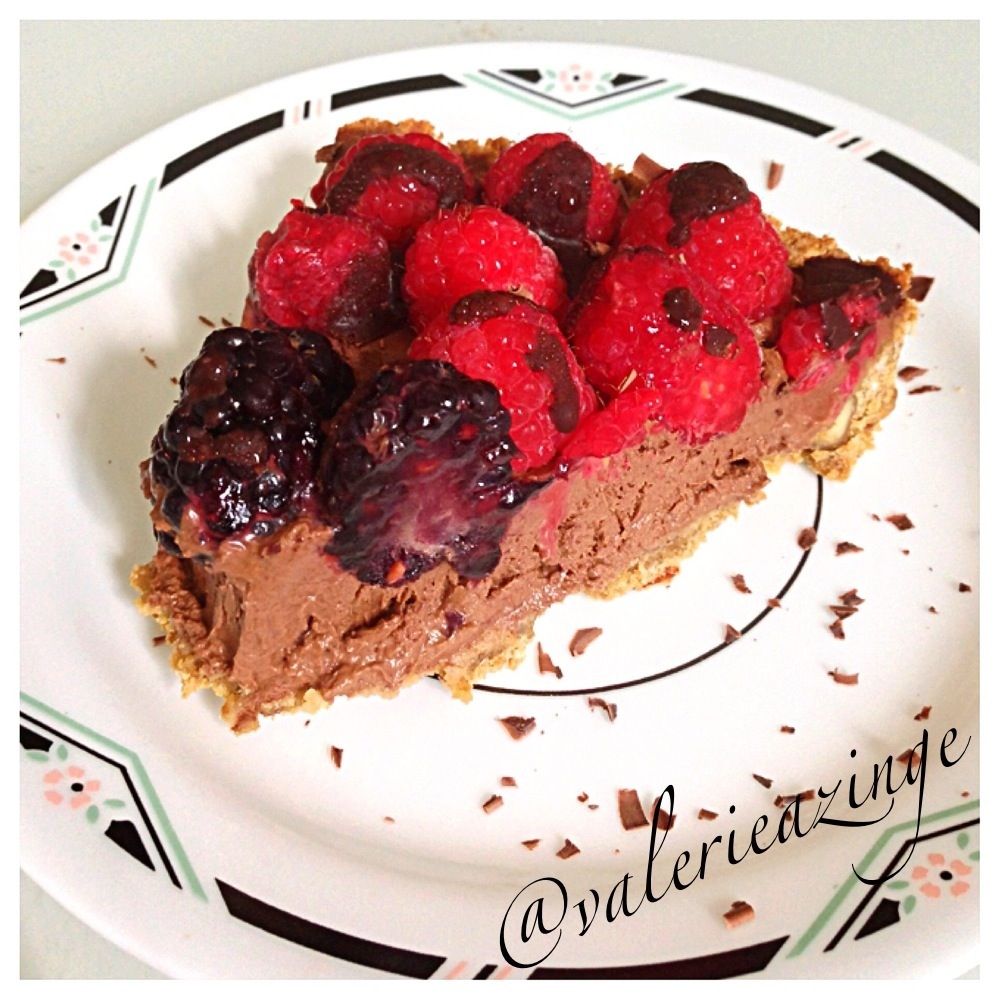
]]>Friday funday whoot whoot! We are having a potluck at work tomorrow and this is what I’m bringing! I had to make this last night because I work till late tonight and I’m at it again bright and early the next morning, which wouldn’t give me time to make anything. Good thing this potluck is on my cheat day! Although everything would be eaten in moderation (yes everything!!) I definitely tasted this pie and it was so yummy and light I wanted to smash it all in my face 
Isn’t it fun to look at? I hope my co workers love it as much as I love them! 
Recipe: modified from thehealthyfoodie.com
Crust:
1 1/2 cups brown rice flour
2 tbsp crushed pecans
2tbsp unsweetened shredded coconut
1 tbsp organic coconut oil
2 tbsp organic raw honey (melted)
1 tbsp organic blackstrap molasses
1/4 cup organic unsweetened apple sauce
1/4 tsp sea salt
1/4 tsp ground cinnamon
Chocolate mousse filling:
1 ripe organic avocado
2 cups organic unsweetened coconut cream (place 2 cans of full fat coconut milk in the refrigerator overnight and scoop out the cream from the top of the can)
3/4 cup raw cacao powder
1/4 cup organic pure maple syrup
2 tbsp organic raw honey (melted)
1/4 tsp sea salt
Pinch of cinnamon
A splash of organic pure vanilla extract
Chocolate drizzle:
1 tbsp organic raw honey (melted)
2 tbsp organic coconut oil
1 tbsp raw cacao powder
Topping:
A ton of berries! Whatever you prefer, go berry crazy 
Pre-heat oven to 350°F.
Mix all crust ingredients in bowl until a brown crumbly batter forms.
Transfer crust into a greased baking dish and mould crust until the bottom and the sides are covered (sides should be about an inch high).
Place crust in the oven and bake for 10 minutes or until golden brown.
Take crust out of the oven when ready and let it cool for 10 minutes.
Chocolate mousse filling:
Place all ingredients in a food processor or blender and purée until a fluffy mousse texture forms.
Pour mousse into the pie crust and spread it out until the entire crust is covered.
Topping:
Place your berries of choice on top of the mousse. Try to get them as close together as possible.
Chocolate drizzle:
Mix ingredients in a mug and drizzle chocolate on top of berries using a teaspoon.
Place the pie in the refrigerator for 2 hours or the freezer for 45 minutes for the chocolate mousse filling to set properly prior to serving.
Enjoy when ready! You can store this in the refrigerator or freezer, and it should keep for about 5 days.
The post CHOCOLATE BERRY MOUSSE PIE appeared first on My Digital Kitchen.
]]>


